Wooden puzzle pieces sticking: common causes and fixes
Wooden puzzles occupy a specific niche in developmental play because the material itself introduces variables that cardboard and plastic do not.
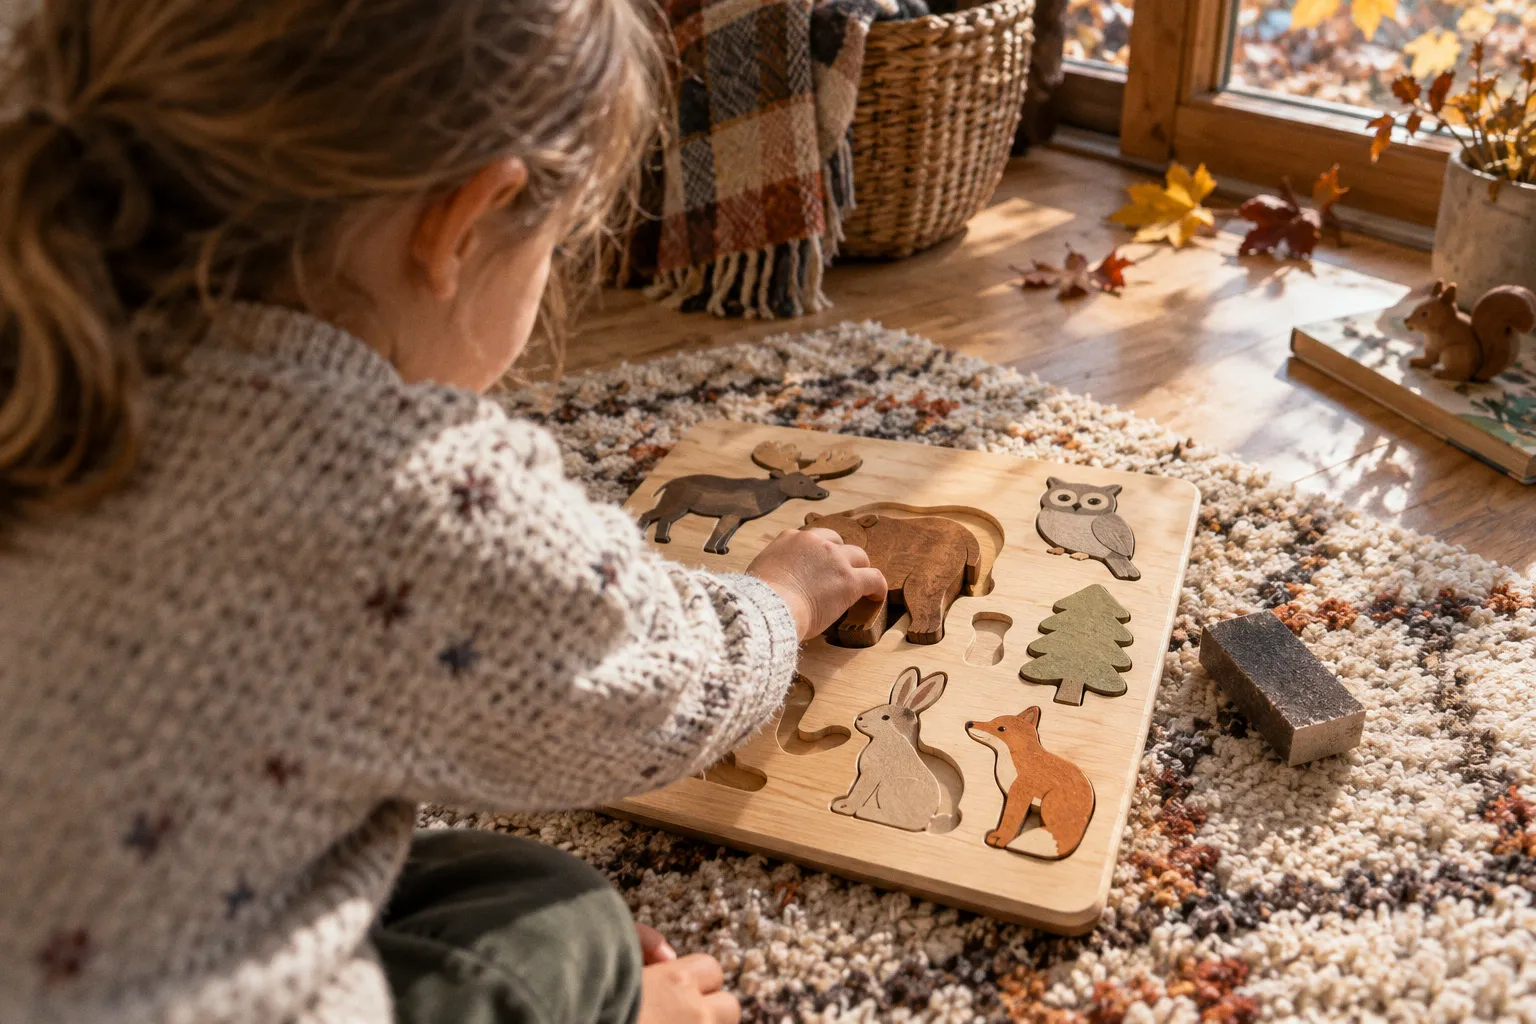
Wood is hygroscopic—it continuously exchanges moisture with the surrounding air—and a wooden jigsaw or 3D assembly puzzle responds to that exchange with measurable dimensional change.
When a wooden puzzle piece no longer slides, drops, or rotates as intended, the cause is usually traceable to one of three mechanical factors: humidity-driven swelling, manufacturing residue at the joint, or excessive friction between closely fitted surfaces. Identifying which factor is responsible is the first step in restoring smooth play, because the right fix depends on the way the joint is binding.
The Science of Swelling: Why Wood Absorbs Moisture
Wood behaves differently from most puzzle substrates because of its cellular structure. The cell walls contain cellulose, hemicellulose, and lignin, and they absorb and release atmospheric moisture in a continuous equilibrium process. This hygroscopic behavior means that a wooden puzzle is never completely dimensionally static. It is always adjusting to the relative humidity of its surroundings.
When ambient humidity rises, the wood absorbs water vapor and the cell walls swell. When humidity falls, the piece loses some of that moisture and contracts. The movement is usually gradual and invisible, but puzzle joints are sensitive to small changes because their clearances are deliberately limited. A connection that feels precise under one set of conditions can become noticeably tighter after the puzzle has spent time in a damp room.
The important point is not a particular cutting measurement. It is that puzzle joints generally leave only a small amount of clearance between mating surfaces. Once a piece expands into that clearance, the connection can begin to bind. A joint may still look perfectly aligned from the outside while the internal contact has become too tight for ordinary hand pressure.
Looser-grain woods and plywood constructions are often more responsive to changes in humidity than dense hardwoods, although no wooden puzzle is entirely immune. Birch plywood and pine are common in mass-produced puzzles and can show movement across the grain when stored in damp conditions. Maple and beech are generally more dimensionally stable, but they still respond to their environment and can stick when the fit is already close.
A wooden puzzle joint is designed with limited room for movement. Humidity does not need to transform the piece to make that room disappear.
The practical consequence is that a piece that assembled cleanly in the workshop may jam weeks later in a child’s bedroom. That does not automatically mean the puzzle was badly made. The wood may simply have moved enough to change the fit.
Swelling is more likely when the puzzle is stored near a bathroom, kitchen, basement, window, exterior wall, or another location where humidity changes quickly. Repeated exposure matters as well. A short period of damp air may have little visible effect, while several wet days followed by repeated attempts to force the joint can create a much more stubborn problem.
Manufacturing Burrs and Laser-Cut Friction
The second major cause of stuck wooden puzzle pieces is residue left at the joint during fabrication. Laser cutting and die cutting both separate wood fibers, but neither process guarantees a perfectly smooth edge. The cut can leave behind small tabs, splinters, rough fibers, or burrs where the material did not separate cleanly.
In laser-cut plywood puzzles, the cut edge may also contain a heat-affected area. The process can darken, harden, or slightly fuse fibers beside the cut line. When two such surfaces meet inside a close joint, one rough spot can act like a hook. The piece may move part of the way and then catch at a particular angle.
Die-cut puzzles can develop a similar issue through crushed fibers or partially severed tabs. A small section of the edge may remain attached after the pressing process. It can be difficult to see until the pieces are fitted together, especially on puzzles with dark stained surfaces or printed faces.
Burrs are often small, but their position matters more than their size. A rough point located at the narrowest part of a joint can stop movement entirely. A piece may feel loose in one direction and jam in another, or it may catch every time it reaches the same point.
The diagnosis is mainly tactile:
- A joint that feels uniformly tight along its entire edge is more likely to be affected by swelling or an overly close fit.
- A joint that catches at one angle or on one ridge is more suggestive of a burr, splinter, or fiber tab.
- A gritty or scratchy sensation can indicate loose debris, charred fibers, or a compressed rough spot.
- A connection that has always been tight since the day of purchase may have been cut with insufficient clearance rather than damaged later.
Quick diagnostic reference
| Symptom | Likely cause | Primary response |
|---|---|---|
| The joint binds evenly along the whole edge | Humidity-related swelling or a very close fit | Let the puzzle acclimatize, then inspect and refine only if needed |
| The piece catches at one angle or ridge | Manufacturing burr or fiber tab | Smooth the catching point with fine abrasive |
| Movement feels gritty or scratchy | Dust, loose fibers, or compressed burr | Clean the interface and inspect the edges |
| The joint was loose but tightened over time | Moisture absorption and wood movement | Improve storage conditions and reassess the fit |
| The joint was tight from the beginning | Factory tolerance issue or rough cut | Use gradual refinement rather than force |
This distinction matters because sanding a swollen piece immediately may remove more material than necessary. Likewise, waiting for a burr to disappear through climate control will not solve a sharp fiber catch. Diagnosis should come before intervention.
Managing Indoor Humidity for Puzzle Longevity
Because wood moves with humidity, storage conditions are part of puzzle maintenance rather than an afterthought. A reasonably stable indoor environment is usually more useful than trying to keep the puzzle in a perfectly dry space. For many household wooden objects, a relative humidity range around 40% to 60% is a practical target, provided it remains reasonably stable rather than swinging sharply from one extreme to another.
Very dry air can cause its own problems. Pieces may contract and become loose, veneer or printed surfaces may become more brittle, and thin sections can be more vulnerable to cracking. Excessively damp air encourages expansion and can make close joints bind. Rapid changes are particularly unhelpful because the outer surfaces may respond before the interior of a thicker piece has reached the same moisture balance.
A few storage habits make a noticeable difference:
- Choose an interior location. Avoid bathrooms, damp basements, unheated attics, and cabinets against cold exterior walls. A dry bedroom, playroom, or interior storage cabinet is usually more predictable.
- Watch seasonal changes. Heating systems can make winter air very dry, while warm, humid weather can push indoor humidity upward. A basic hygrometer can reveal whether a storage problem is occasional or persistent.
- Avoid abrupt transitions. Do not move a puzzle directly from a damp garage or porch into a heated room and immediately force the pieces apart. Allowing the material to adjust gradually is gentler on both the wood and the finish.
- Store it flat when practical. Keeping the puzzle in its box reduces exposure to rapid drafts and protects the pieces from knocks that can turn a minor rough edge into a break.
- Do not seal in dampness. Airtight plastic packaging can trap moisture that is already present. Breathable storage is safer unless the puzzle is completely dry and the packaging is intended for long-term protection.
If pieces have begun sticking after exposure to humid conditions, moving the puzzle to a stable indoor environment and allowing it to acclimatize may relieve some of the swelling. This is worth trying before sanding, especially when the pieces are tight everywhere rather than catching at one identifiable point. The adjustment may take time, and the puzzle should not be forced while the wood is still changing.
If the joint remains tight after the puzzle has had a chance to settle, or if there is a clear burr, light mechanical refinement may be appropriate. Environmental correction can reduce the pressure in the joint; it cannot remove a splinter or reshape a badly fitting edge.
Refining Connections: Sanding and Smoothing Techniques
When a burr, small splinter, or persistent high spot is responsible for the sticking, the standard correction is to refine the contacting surface. Fine-grit sandpaper is usually the safest starting point. Small emery boards or needle files can help with internal corners, but they require more control because they remove material quickly from a narrow area.
The technique is subtractive but minimal. The aim is not to redesign the piece or make the connection loose. It is to remove the obstruction that prevents the existing fit from working.
How to separate stuck wooden puzzle pieces
1. Stop forcing the joint. If the pieces are partly engaged, do not twist them sharply or pull at an angle. A thin wooden section can split before the joint releases.
2. Support both pieces. Hold the puzzle close to the connection so that pressure is not transferred through a long, fragile arm or tab.
3. Identify the binding point. Look for a visible ridge, darkened fiber, splinter, or place where the edge appears rough. If there is no single point and the whole joint feels tight, consider humidity-related swelling first.
4. Work on the removable edge. Place a small piece of fine sandpaper on a firm surface and draw the suspected high spot across it with light pressure. Avoid rounding the entire edge.
5. Use a file only where necessary. A fine emery board or needle file is useful for a narrow internal corner, but make only a few controlled strokes at a time.
6. Test the fit frequently. Brush away the dust and try the connection again after each small adjustment. Stop as soon as the piece moves normally.
7. Clean before reassembly. Sanding dust can create its own abrasive layer inside the joint. Remove it with a soft brush, a clean cloth, or gentle air.
For a burr, two or three light passes may be enough. A swollen edge may require more patience, but it should still be approached gradually. Sanding the entire perimeter of a puzzle piece is rarely justified. It can change the fit on every side and make the piece loose in places that were working correctly.
Coarse abrasive is a poor shortcut. It removes material quickly and can leave deep scratches that increase friction rather than reduce it. Fine paper gives better control and makes it easier to stop before the geometry of the joint has been altered.
Children should not be given sandpaper, files, or loose sanding dust as part of the repair. The correction should be done by an adult, followed by careful cleaning. Afterward, check the piece for splinters and inspect the surrounding edges before returning the puzzle to play.
Dry Lubrication: Using Wax to Improve Piece Movement
Once a joint is clean and its fit has been corrected, a small amount of hard wax can reduce residual friction. Wax works as a dry lubricant: it fills some microscopic surface irregularities and allows the mating faces to slide more easily without adding liquid moisture.
For wooden puzzle joints, a plain beeswax or paraffin block is a sensible choice. An unscented candle made from a hard wax may also work. The key is to use a dry, solid material in a very small quantity. The wax is meant for the joint, not for coating the entire puzzle.
A practical application is simple:
- Rub the wax lightly along the contacting edge of each piece.
- Use only a few passes. A thick coating can collect dust and make the connection feel sticky.
- Buff the surface with a soft cloth or fingertip until the film is thin and nearly invisible.
- Wipe wax from the visible face of the puzzle.
- Test the joint before adding more.
Wax can make a correctly fitted joint move more smoothly. It cannot compensate for a burr, severe swelling, or a connection that was cut incorrectly.
Wax should be treated as a finishing measure rather than the first response. Applying it to a dirty or swollen joint may mask the symptom without resolving the cause. It also cannot restore a broken edge or reverse warping. If the piece is still binding firmly after cleaning and light refinement, adding more lubricant is unlikely to help.
For puzzles used by very young children, keep the application especially restrained. Loose flakes of wax should not remain on the pieces, and scented, colored, soft, or heavily additive-filled products are less suitable than a plain hard wax. The finished puzzle should be wiped clean before it goes back into play.
Common Maintenance Mistakes to Avoid
Several interventions intended to fix stuck wooden puzzles create new problems. They are tempting because they seem fast, but they often make the joint harder to repair.
Liquid puzzle glue and water-based sealers. Many puzzle glues are formulated for cardboard and are not appropriate for moving wooden joints. Liquid introduces moisture, which can increase swelling, soften fibers, and cause edges to curl or adhere. If a wooden puzzle is being prepared for display, any protective finish should be chosen for wood and kept away from the mating surfaces. A joint that needs to move should remain free of a brittle coating.
Oil and household lubricants. Cooking oil, mineral oil, silicone sprays, and similar products can soak into unfinished wood, attract dust, stain the surface, or create a greasy film that is difficult to remove. They are also unnecessary for a joint that can be corrected with cleaning, careful sanding, and a small amount of hard wax.
Sticky paste waxes. Furniture waxes designed to cling to a finished surface may contain resins or softeners that increase drag. They can leave a tacky layer rather than a dry sliding film. Hard beeswax or paraffin applied sparingly is more predictable.
Forced separation. Twisting a stuck connection can split a thin tab, tear a veneer, or damage the printed face. If the pieces will not separate with controlled hand pressure, pause and determine whether the joint is swollen, hooked by a burr, or mechanically misaligned.
Coarse sanding. Aggressive abrasive can turn a precise puzzle into a loose one in a single session. It may also round corners that are needed to keep the piece aligned. The correct approach is several small corrections, with repeated fit checks.
Heating the puzzle. A hair dryer, radiator, or direct sunlight may appear to offer a quick way to dry swollen wood. Uneven heating can warp thin pieces, damage printed surfaces, and dry the outer layer faster than the interior. Stable room conditions are safer than concentrated heat.
Sealing the puzzle in plastic while it is damp. This traps residual moisture and can create a more humid microclimate inside the packaging. Let the puzzle dry and acclimatize in a stable room before storing it. The original box or a breathable fabric wrap is preferable to an airtight bag for ordinary household storage.
Ignoring small splinters. A tiny raised fiber can become a larger break after repeated attempts to assemble the puzzle. If a piece catches in exactly the same place every time, inspect that point early rather than continuing to apply force.
Keeping the Fit Usable Over Time
Wooden puzzles do not need complicated maintenance, but they do benefit from being treated as wooden objects rather than as indestructible plastic toys. Their joints work because the pieces have been cut, shaped, and finished within a limited range of fit. Moisture, dust, rough fibers, and repeated force all push that fit in the wrong direction.
A sensible order of operations is:
1. Move the puzzle to a stable, dry indoor environment.
2. Let it acclimatize if the sticking appeared after humid storage.
3. Inspect for dust, splinters, burrs, and visible damage.
4. Separate the pieces without twisting or levering them.
5. Refine only the specific high spot with fine abrasive.
6. Clean away all dust.
7. Apply a very thin layer of hard wax if movement still feels rough.
8. Return the puzzle to storage that avoids repeated humidity swings.
This sequence preserves more of the original material than an aggressive repair and makes it easier to understand what actually solved the problem. It also distinguishes a temporary environmental issue from a manufacturing defect. If one connection remains unusable after acclimatization and careful refinement, the puzzle may have been cut with an unsuitable fit or may have been damaged. At that point, replacing the puzzle is more sensible than repeatedly removing wood.
Sticking is not an inevitable part of owning a wooden puzzle. In most cases, the cause is a combination of limited joint clearance and a change at the edge: moisture has made the piece slightly larger, a burr has created a catch point, or dust and rough fibers have increased friction. Stable storage addresses the first problem, precise smoothing addresses the second, and restrained waxing can improve the final movement.
The goal is not to make every wooden puzzle joint loose. A little resistance is part of a well-made connection. The useful repair is the one that restores controlled movement while keeping the pieces aligned, durable, and safe for the next round of play.