Wooden memory game cards: why they warp and how to fix them
Wooden memory game cards and tiles are made from a material that constantly exchanges moisture with the air. That exchange is normal.
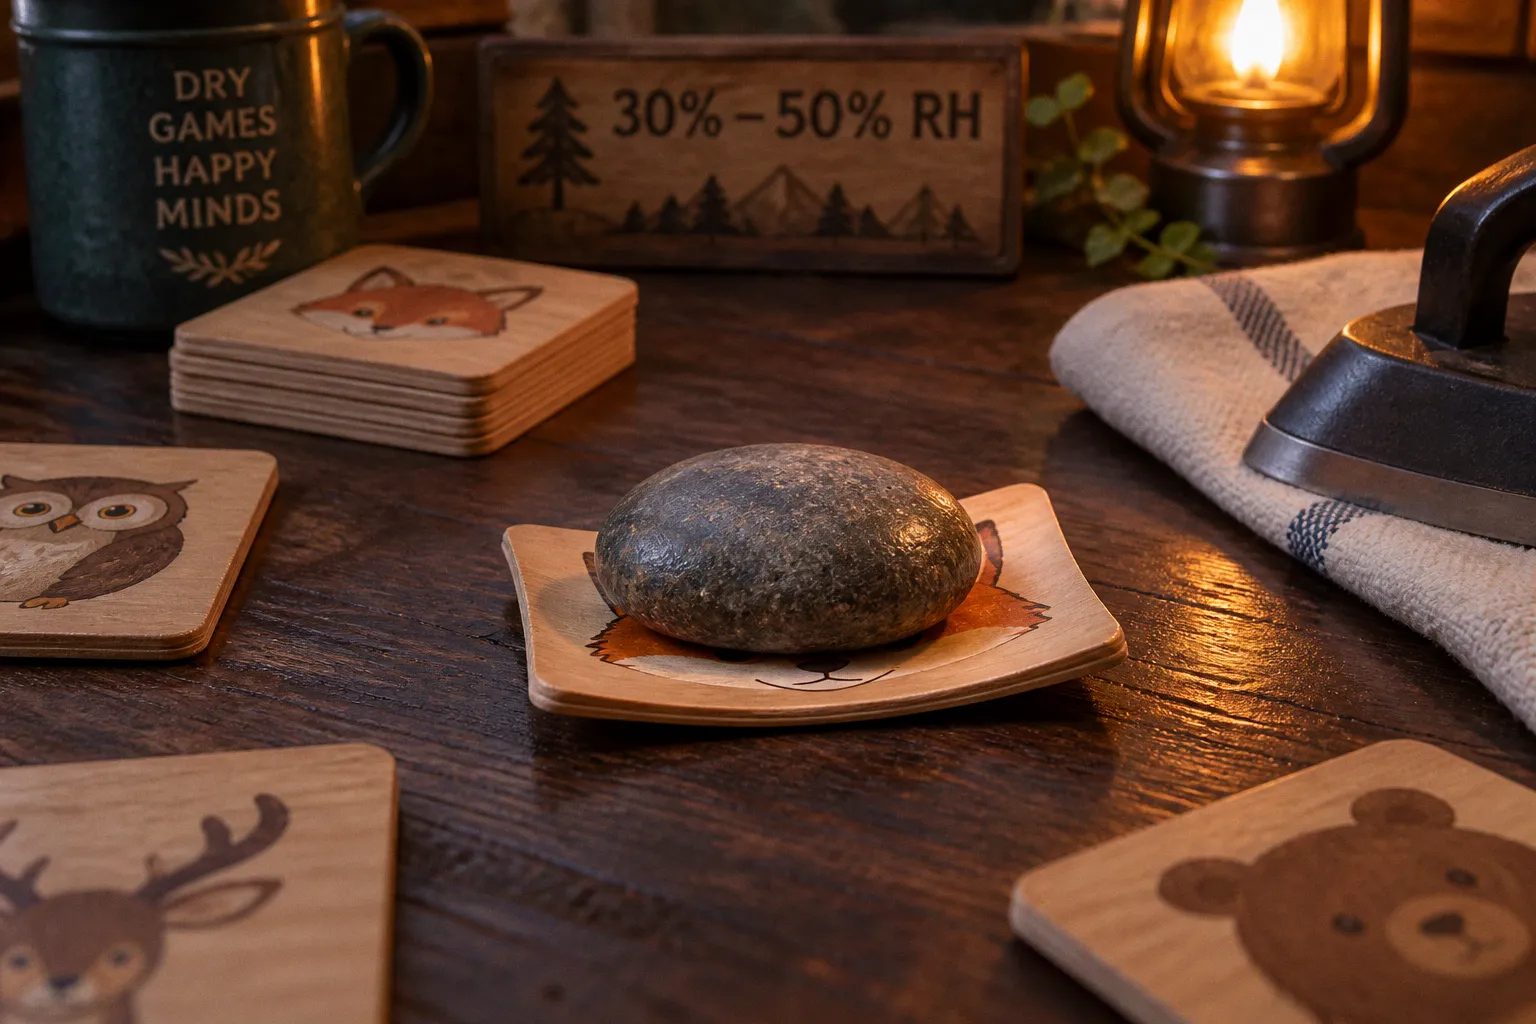
The problem begins when one face of a tile gains or loses moisture faster than the other, or when the surrounding humidity changes too quickly for the piece to adjust evenly. The result can be cupping, bowing, twisting, raised edges, or wooden memory tiles sticking together inside the box.
This is the basic reason behind most wooden memory game cards warping causes and fixes: the tile is responding to its environment. A correction is possible in many mild and moderate cases, but the right method depends on the construction of the piece, its finish, the direction of the warp, and the amount of moisture or heat involved.
The Science of Hygroscopy: Why Wooden Tiles Lose Their Shape
Wood is hygroscopic. In plain terms, it absorbs water vapor from damp air and releases moisture into dry air. It continues doing this until its moisture content reaches a temporary balance with the surrounding environment. In woodworking, this balance is known as equilibrium moisture content, or EMC.
That balance is not permanent. A memory game stored in a warm, dry room may gradually lose moisture. The same set placed in a humid basement may absorb it. If the change happens evenly on all sides, the tile may expand or contract without an obvious change in shape. Warping appears when the two faces or different parts of the piece respond at different rates.
The grain direction matters. Wood changes much more across the grain than along its length. A flat tile therefore tends to change in width and thickness before any noticeable change occurs along its longest dimension. Even a small difference in moisture between the front and back faces can create enough internal tension to make the piece rock on a table.
Several construction details make this more likely:
- A printed face may be covered with varnish, lacquer, polyurethane, or another relatively resistant coating.
- The reverse side may be raw wood or have a thinner finish.
- End grain and edges often exchange moisture faster than broad finished faces.
- A laminated or glued tile can react differently from a solid piece because its layers do not always absorb moisture at the same rate.
- A dark printed surface exposed to sunlight can become warmer than the surrounding material.
The important distinction is between ordinary dimensional movement and actual damage. A tile that changes slightly with the seasons is not necessarily defective. A piece that develops a persistent bow, cracked finish, delamination, or a tacky surface needs closer attention.
Warping is usually not a mysterious failure inside the toy. It is the visible result of uneven moisture movement through a small piece of wood.
Wood also has a memory of sorts, but it is not perfectly elastic. A tile may return partway toward its original shape when its moisture balance changes again. If it has remained bent for a long time, or if the finish and fibers have been stressed, some deformation may remain. That is why gradual correction is generally safer than trying to force a severely twisted piece flat in one attempt.
Identifying Humidity Triggers: The 50% Relative Humidity Threshold
Relative humidity is useful as a practical guide, not as an on-off switch. There is no single reading at which every wooden game piece suddenly becomes unstable. The risk depends on the duration of exposure, the speed of the change, the type of wood or board, the finish, the thickness of the tile, and how freely air can reach each face.
Around 50% RH is a useful point at which to start paying closer attention, particularly if the set is stored there for long periods. Above that level, moisture-related expansion and uneven drying may become more noticeable in some products. Below it, the risk does not disappear: very dry conditions can make wood shrink, open small checks, or increase brittleness. The practical aim is a steady environment rather than a rigid number.
Common triggers include:
1. Long exposure to damp air. A basement, poorly ventilated playroom, kitchen cabinet, or storage area against an exterior wall may remain humid for days or weeks. The tile may absorb moisture gradually, with the edges and less-protected face responding first.
2. Rapid changes in humidity. Moving a game from a humid room into strong central heating can create a moisture gradient between the two faces. The piece may not have time to adjust evenly.
3. Unequal finishing. A coated front and a lightly sealed back do not exchange moisture at the same rate. This difference can encourage cupping as the surrounding humidity rises or falls.
4. Direct heat or sunlight. A radiator, heating duct, fireplace, sunny windowsill, or hot car interior can dry one part of a tile faster than another. The issue is localized and prolonged heat, not brief contact with a child’s hand.
5. Restricted airflow in storage. A tightly packed box can hold moisture against the surfaces. If several pieces are already damp or slightly tacky, they may press together and become difficult to separate.
6. Liquid spills and cleaning. Wiping a tile with too much water, leaving it wet after washing, or storing it before it is completely dry can produce a sharper moisture imbalance than ordinary room humidity.
Normal handling and body warmth are not reliable explanations for permanent warping. A child holding a tile for a few seconds, or repeatedly touching it during a game, will generally not create the sustained, uneven heating and drying needed to bend the wood permanently. The more plausible concern is prolonged exposure to an external heat source, direct sun, or a wet surface.
How to read the room rather than chase a number
A small household hygrometer can show whether the storage area is consistently dry, damp, or prone to large swings. It is more useful to watch the pattern over several days than to react to one isolated reading. A room that moves between very dry and very humid conditions may be harder on wooden toys than a room with a slightly less-than-perfect but stable reading.
For most wooden toys and game pieces, a moderate, stable indoor environment is a sensible target. A range somewhere around 35–50% RH is often practical, while conditions outside that range call for more care. This is risk reduction, not a guarantee that every tile will remain perfectly flat.
Diagnostic Assessment: Cataloging the Damage
Before trying to flatten warped wooden game pieces, inspect the set in good light and identify the direction of the deformation. Do not begin by wetting every tile or placing the whole box under a heavy object.
Place each piece on a known-flat surface. Note whether it:
- Rocks from corner to corner but otherwise sits close to the surface.
- Forms a shallow curve across its width or length.
- Has one edge lifted while the opposite edge remains down.
- Twists so that two diagonal corners touch and the other two rise.
- Shows cracks, lifted print, bubbling, delamination, mold, or a sticky finish.
A useful working classification is:
| Condition | What you may see | Sensible first response |
|---|---|---|
| Slight cup or bow | The tile rocks but responds to gentle finger pressure | Stabilize the environment, then try controlled pressing |
| Noticeable bow | The tile remains curved and does not flatten by hand | Use gradual moisture conditioning only if the finish allows it, followed by even pressing |
| Twist or surface damage | Corners sit at different heights, or the face is cracked, bubbled, or separating | Stop aggressive home repair; seek replacement or manufacturer advice |
This table is a guide, not a diagnosis of the wood’s internal condition. A twisted tile is not automatically beyond repair, and a flat-looking tile may still have a weakened or delaminated surface. The more severe the visual damage, the greater the chance that pressing alone will not restore both the shape and the finish.
The presence of a crack changes the decision. Moistening and pressing can enlarge a split, disturb printed layers, or drive moisture into a damaged edge. Mold or a persistent musty odor also points to a storage problem that should be addressed before the set is returned to a box with other toys.
Restoration Techniques: Flattening Warped Pieces with Weighted Pressing
For a mild, clean warp, gradual conditioning and distributed pressure are usually less risky than forceful bending. The aim is to let the more contracted side take up a limited amount of moisture, then hold the tile in a flatter position while it comes back toward a new moisture balance.
This method is not suitable for every product. Avoid applying water directly to tiles with absorbent paper graphics, unsealed wood, peeling decals, exposed fiberboard, or an unknown finish. If the manufacturer’s care instructions prohibit moisture, follow those instructions instead.
A cautious pressing method
1. Separate and inspect the pieces. Work on one or a few tiles at a time. Do not press the entire set together if some pieces are damp, tacky, cracked, or moldy.
2. Identify the concave side. Place the tile on a flat surface. The concave face is the hollowed-in side of the curve; the convex face bulges outward. Confirm the direction rather than relying only on the printed side, because finishes and laminations can make the visual reading confusing.
3. Condition the face conservatively. If the surface is sealed and the warp is mild, use a barely damp cloth or a small amount of indirect moisture in the surrounding environment rather than saturating the tile. The piece should never be wet through. Water should not pool at the edges.
4. Protect the surfaces. Place clean, smooth paper between the tile and the pressing surfaces. Parchment can help prevent sticking, but test any material first if the finish is delicate. Avoid textured paper that could imprint the surface.
5. Use rigid, flat supports. A flat board above and below the tile is more important than raw weight. Pressure should be spread across the whole piece, with no concentrated point pressing into its center.
6. Apply moderate, even pressure. The required force depends on the tile’s dimensions, thickness, stiffness, and finish. There is no universal kilogram target. Too little pressure will not hold the shape; too much can crush edges, leave impressions, or crack a printed coating.
7. Leave the setup in a stable room. Give the piece time to adjust gradually. Check it after a day, then again later if necessary, rather than repeatedly removing and re-clamping it.
8. Release the pressure slowly. Let the tile rest in the same room before returning it to the box. If it springs back immediately, the process may need to be repeated more gently, or the deformation may be more permanent than it first appeared.
The pressing surface should be clean and completely flat. Glass, a smooth hardwood board, or a purpose-made flat press can work, provided the tile cannot slide and the load is distributed. Books may be convenient, but a pile of books can create uneven pressure if the supporting boards are flexible.
Do not try to flatten a tile by standing on it, tightening a clamp until the edges creak, or placing a heavy object directly on an unprotected printed face. A memory card is small, but its finish can be surprisingly fragile.
What to do when wooden memory tiles are sticking together
Tiles that seem glued together may be held by several different mechanisms:
- Residual moisture between closely packed faces.
- A finish that becomes slightly tacky in heat or humidity.
- Dried food, lotion, or another contaminant.
- Softening or migration of an adhesive layer.
- Pressure from being packed tightly while the pieces were not completely dry.
Start by moving the box to a dry, moderate room and allowing it to rest. Do not pull the tiles apart by their corners. Instead, try to separate them from an edge using a clean sheet of paper or thin card as a gentle separator. If the surfaces resist, stop rather than tearing a printed layer.
Avoid oils, solvents, alcohol, and aggressive cleaners unless the manufacturer specifically recommends them. These substances can dissolve or cloud the finish and may transfer onto other pieces. Once separated, inspect the faces for tackiness or transferred color. A persistent sticky surface is a finish problem, not something that pressing will solve.
Thermal Correction: Using Low-Heat Barriers for Stubborn Bows
Heat can sometimes help a moderately bowed piece relax, but it is the least forgiving home method. A household iron can blister graphics, soften coatings, discolor foil, scorch wood, or make a slight warp worse. Thermal correction should therefore be considered only after gentler environmental stabilization and pressing have failed, and only when the tile’s construction is reasonably understood.
The goal is not to heat the tile until it bends. It is to introduce mild, brief warmth while the piece is protected and supported, then allow it to cool under even pressure.
A conservative approach
- Use the lowest dry setting available. Disable steam.
- Place a clean, thick cotton barrier between the iron and the tile. The barrier should not have buttons, seams, embroidery, or printed dye that could transfer.
- Whenever possible, work from the unprinted, less protected side.
- Touch the iron down briefly rather than dragging it across the surface. Lift it between passes and inspect the tile frequently.
- Do not heat a spot until it feels hot. Warmth should be limited and controlled.
- If the bow relaxes, move the piece promptly into a flat pressing setup while it cools.
- Let it return to room temperature before judging the result.
The barrier reduces direct contact; it does not make high heat safe. Metallic inks, foil stamping, thick glossy coatings, decals, and unknown laminates are poor candidates for ironing. If both faces carry graphics, or if the surface already shows bubbles or lifting, skip thermal treatment.
A hair dryer is not automatically safer. It can deliver uneven, concentrated heat and may dry one edge faster than the rest. If warmth is used at all, a barrier and a flat support provide more control than blowing hot air from one direction.
Heat is a correction aid, not a substitute for pressure and patience. If the finish starts to smell, shine, bubble, or change color, stop immediately.
Proactive Storage: Maintaining Equilibrium Moisture Content
The best way of preventing moisture damage in wooden puzzles is not to prevent the wood from exchanging moisture. That is impossible in ordinary household storage. The practical goal is to slow and reduce the swings so that the front, back, edges, and inner layers remain reasonably close in moisture content.
A household hygrometer is useful because humidity problems are often invisible until the pieces have already changed shape. Place it near the storage location rather than next to a humidifier, radiator, window, or exterior door. Look for sustained patterns and rapid changes, not just one reading.
A moderate range around 35–50% RH is a reasonable operating target for many wooden toys. Some homes will sit outside that range seasonally. When the air is very dry, wood may shrink and develop fine checks; when it is persistently damp, expansion, tackiness, mold, and warping become more likely. The exact response still depends on the product, so the range should be treated as a risk-management guide rather than a promise of perfect stability.
Storage habits that make a difference
- Keep the pieces flat when the box allows it. Flat storage reduces the chance that a tile will rest on one edge for months. It does not correct a warp by itself, but it avoids adding another directional load.
- Do not pack damp pieces tightly. After cleaning or a spill, allow every surface and edge to dry in a moderate room before closing the box.
- Avoid direct heat and strong sun. A shelf above a radiator, a heating vent, or a sunny windowsill can create a harsher microclimate than the rest of the room.
- Allow some air exchange. Completely airtight containers can trap moisture introduced by handling or a previous spill. A breathable box or a well-fitting ordinary toy container is often more forgiving.
- Use desiccants carefully. A desiccant pouch can help in a persistently humid storage area, but it should not touch the tiles and should not be treated as a replacement for fixing the room’s humidity. In an already dry room, excessive desiccation can create a different problem.
- Do not rely on loose rice or improvised absorbents. They can shed dust, attract pests, and give a false sense of control.
- Keep pieces clean and dry. Food residue, hand cream, and cleaning products can make surfaces tacky, encouraging tiles to adhere even when the wood itself is not badly warped.
- Inspect sets that are stored for long periods. Open the box occasionally, check the pieces for tackiness or lifted edges, and make sure no moisture has collected underneath the stack.
Storage geometry matters most when the set is already under stress. A tight box can hold warped pieces against one another and make them appear to have bonded. Separating the tiles, improving ventilation, and stabilizing the room may solve the sticking problem without any repair to the wood.
When Home Repair Is Not the Right Choice
Some pieces are better replaced than restored. Contact the manufacturer or seller if the set is new, the deformation appeared without an obvious storage problem, or the product may still be covered by a warranty. Replacement tiles preserve the game’s matching images and are often safer than experimenting with a printed surface.
Stop home treatment when you see:
- Cracks that continue through the tile or reach an edge.
- Splits along the grain.
- Bubbling, peeling, or delamination of printed layers.
- A finish that remains sticky after the set has been moved to a moderate, dry environment.
- Mold growth or a persistent musty smell.
- A severe twist that keeps several corners off the flat surface after gentle conditioning.
- A tile that becomes brittle, flakes, or sheds material when handled.
Severe-looking deformation does not prove that the fibers have permanently exceeded an elastic limit, and it does not mean industrial equipment is always the only possible solution. Wood, coatings, and laminated boards respond differently. The practical point is more cautious: once twisting, cracking, or layer separation is present, the likelihood of a clean home repair falls and the risk of making the piece worse rises.
Do not return a damaged tile to a set used by very young children if it has a sharp split, loose coating, flaking paint, or an unstable edge. A replacement is preferable to a technically flat piece that is no longer safe or durable.
A More Reliable Way to Think About Warping
There are three variables to consider together: moisture, time, and imbalance. A brief change in room humidity may do little. The same change held for weeks, especially with one face sealed and the other exposed, can produce a visible curve. Direct heat matters when it is strong or prolonged enough to dry one region faster than another; ordinary body heat from handling is not a dependable cause of permanent bowing.
That also explains why restoration should be gradual. Re-wetting one face heavily, pressing with an arbitrary load, or applying high heat may create a second moisture gradient before the first one has settled. The tile can look flatter for a moment and then spring back, crack, or develop a damaged finish.
For most mild cases, start with the room: move the set away from heat and damp storage, separate stuck pieces carefully, and allow the tiles to stabilize. Then use protected, distributed pressing if the finish and construction make it appropriate. Reserve low heat for persistent bows and treat it as a controlled risk, not a standard step. If the piece is cracked, delaminated, moldy, or severely twisted, replacement is usually the more sensible route.
Wooden memory game cards will always respond to their surroundings to some extent. The goal is not to force a natural material into complete immobility. It is to keep the environment steady enough that dimensional movement remains small, visible damage is avoided, and a warped tile has a reasonable chance of returning toward flat without sacrificing its printed surface or structural integrity.