Loose Wooden Train Tracks: Why They Slip and How to Fix Them
By the third winter of play, a wooden railway may start to come apart at every curve. A toddler pushes a locomotive across a junction and the track hinges open behind the train like a drawbridge. It looks like a defect. Often, it is not.
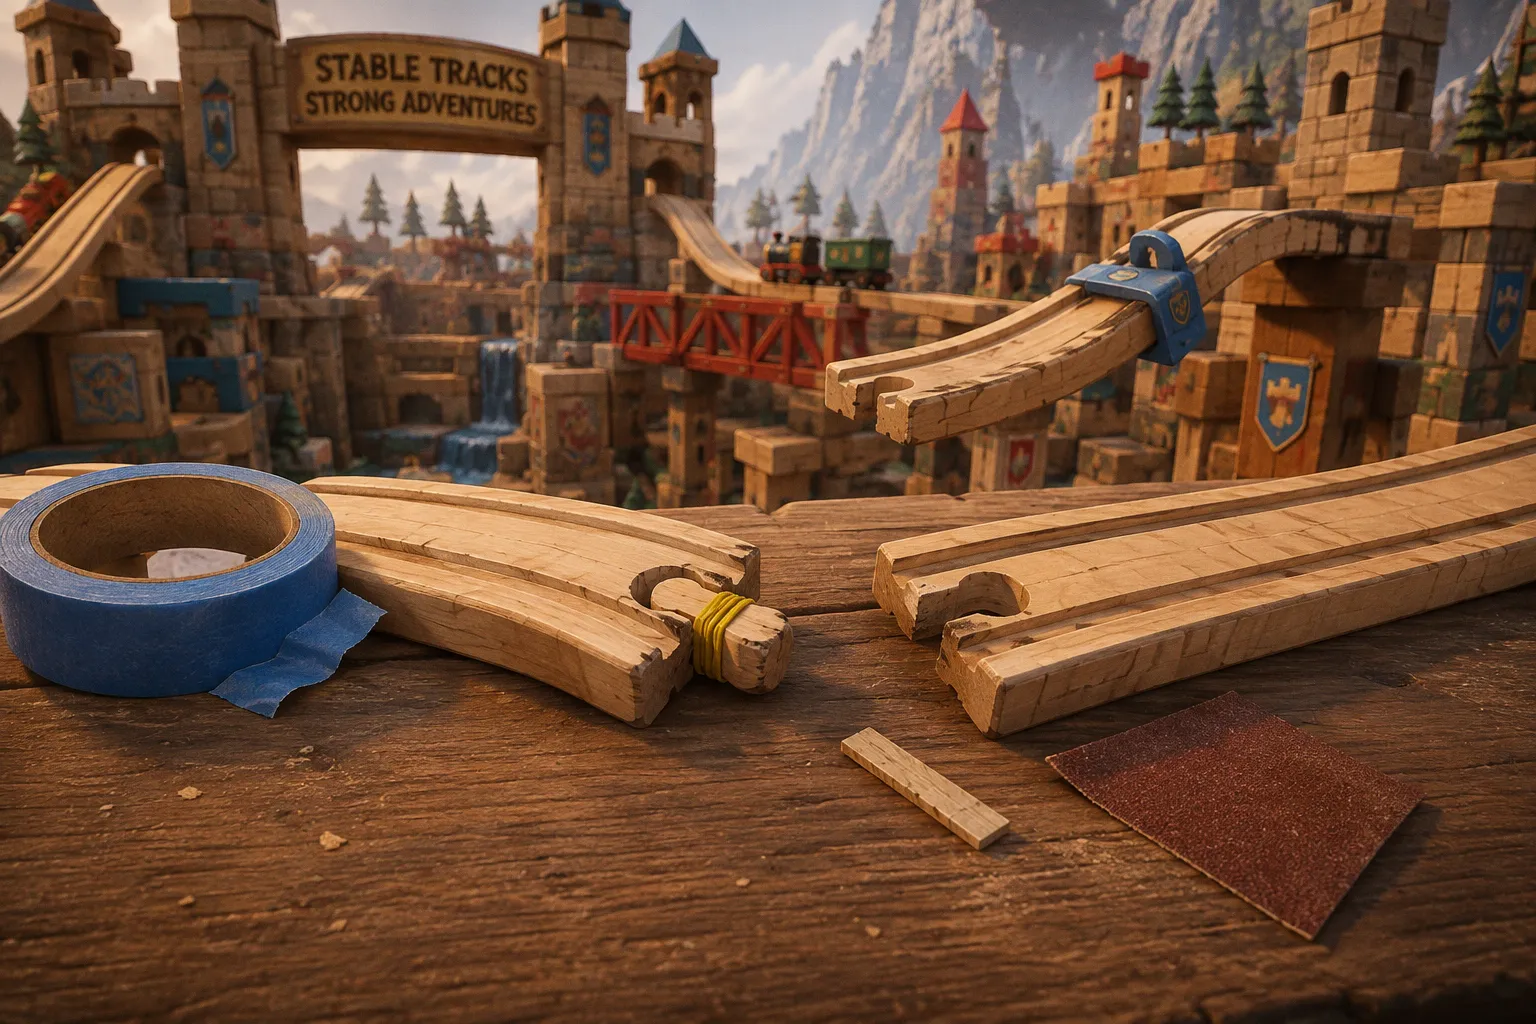
Wood responds to the air around it: in a dry room, it loses moisture, contracts slightly across the grain, and allows peg-and-socket joints to drift away from their original friction fit.
That does not mean every loose joint has the same cause. Humidity shrinkage, normal play wear, a slippery floor, and mismatched track brands can all produce the same irritating symptom: the railway will not stay together. Knowing which failure you are looking at is what makes a repair useful. Otherwise, it is easy to tape a joint that is actually sliding across the floor, or glue a connector that only needed a little extra friction.
The Science of Shrinkage: Why Humidity Affects Your Railway
Wood is a hygroscopic material. It absorbs moisture from humid air and releases it into dry air, and its cell walls contract and expand as indoor conditions change. The movement is directional. Along the grain, a board generally moves much less than it does across the growth rings. The peg-and-socket ends of wooden track pieces are shaped across those changing dimensions, so they are among the parts most likely to reveal seasonal movement.
When forced-air heating makes a living room especially dry in winter, wooden track pieces can lose moisture across their width. A peg that fitted snugly in autumn may become a looser fit a few months later. The track has not necessarily failed; it has adjusted to the conditions in which it is being stored and played with.
A polished hardwood floor or low-pile rug can make the problem more obvious. If the track itself slides under the train, a child pushing a locomotive through a curve creates sideways force at every joint. The result may look like a connector problem even when the main issue is the surface underneath the railway.
Wood does not stay still. Every joint on your railway is a small weather station for the moisture in your living room.
Several causes can overlap, but the pattern of the failure usually gives you a useful starting point:
- Humidity-driven gaps. Several joints develop small gaps around the same time, often after a change of season. The track pieces otherwise look clean and undamaged.
- Normal play wear. One joint fails repeatedly, usually on a favourite curve, switch, or junction. The peg may still look intact, while the socket has become smoother from repeated friction.
- Slippery floors. The whole track moves before the joint separates. If the layout shifts across the floor, stabilise the surface first and reassess the connectors afterward.
- Brand-mixing tolerance differences. One particular combination of brands disconnects consistently, while same-brand joints remain secure. Wooden railway makers do not all use identical connector dimensions, so the word compatible on a marketplace listing should not be treated as a guarantee of an equally tight fit.
This last issue is easy to underestimate. A connector that works perfectly within one railway system may fit another system loosely, tightly, or not at all. Even when two brands use the same general peg-and-socket idea, small differences in diameter, depth, curve geometry, or finish can change how the joint behaves. If only the mixed-brand sections come apart, the track may not be worn out. The parts may simply have different tolerances.
Before repairing anything, separate the pieces and inspect both sides of the joint. Look for a cracked peg, compressed or polished wood, a socket that has split, and finish buildup around the opening. Also check whether the track is sitting flat. A connector cannot compensate for a baseboard or rug that twists the pieces upward.
Invisible Reinforcement: Using Tape for Seamless Track Stability
For many loose-joint problems on flat track, the cleanest fix is also the cheapest and least visible. Cut a short strip of blue painter’s tape and press it across the underside of the joint where two track pieces meet. The tape bridges both sides of the seam and holds them together from below, where it is less visible and less likely to interfere with locomotive wheels.
Use the smallest piece that provides enough support. A long strip wrapped around the track can collect dust, catch on rugs, and make later removal more difficult. The aim is not to encase the joint. It is to stop the two pieces from lifting apart during ordinary play.
The technique is straightforward:
1. Join the track pieces normally and make sure the rails are aligned.
2. Turn the joined section over so the underside of the seam is accessible.
3. Cut a strip of painter’s tape suited to the width of the track.
4. Press it firmly across the seam, with roughly half of the strip on each piece.
5. Smooth the tape down without covering any wheel path or creating a raised edge.
Painter’s tape is usually easier to remove than stronger household tapes, but the finish still matters. Test a small, hidden area first, particularly on older track, painted pieces, stained surfaces, or anything with a waxy or oily feel. Unfinished wood can hold adhesive more aggressively than a sealed surface and may lose fibres when the tape is peeled away.
Avoid duct tape, packing tape, and other aggressive adhesives for this job. They can leave residue, pull at a finish, or create a tacky edge that attracts grit. Electrical tape may stretch and shift as the layout is rebuilt. If the tape is being used on a toy handled by a young child, check it during play and remove it when it begins to lift.
This is a reversible repair, which is its main advantage. If the joints become snug again in a more humid season, peel the tape away rather than leaving a maintenance patch in place indefinitely. Pull slowly and close to the surface instead of yanking upward. If residue remains, follow the manufacturer’s care guidance for the track’s finish; do not immediately scrub it with a solvent.
Tape works best when the joint is fundamentally sound and the railway is laid on a flat surface. It is not a substitute for a damaged peg, a split socket, or a bridge joint carrying more weight than the surrounding track can support.
The Loom Band Hack: Adding Friction to Worn Male Connectors
When painter’s tape is not enough—usually on tight curves, switches, or joints that take repeated stress—a small loom band can add friction around the male peg. Wrap the band around the peg before inserting it into the socket. The rubber or silicone ring takes up some of the space that has opened between the two parts and gives the connector a firmer grip.
Start with one thin band rather than several layers. The peg should still enter without force. If the band bunches up, folds over the end, or makes the connection difficult for an adult to assemble, it is too thick for that joint. A forced fit can split the socket or make the track difficult to rebuild.
This is a mechanical fix rather than a glued one, and that distinction matters. The band is a replaceable component. It will eventually stretch, split, or lose its resilience, but it can be removed in seconds and replaced without altering the wooden track. That makes it more appropriate for a modular railway than a repair that permanently bonds two pieces together.
The material trade-off is not completely irrelevant. A loom band is a small synthetic component added to a wooden toy, and it should not be treated as though it disappears after use. Keep the repair limited to joints that need it, replace damaged bands promptly, and store spare bands away from young children. A small, replaceable reinforcement may still be preferable to discarding an otherwise usable track set, but the choice should remain practical rather than ideological.
Safety matters especially with children under three. A band that slips off the peg becomes a small loose object on the floor. Check that it sits securely around the connector and remains enclosed by the socket when the track is joined. Inspect it again after rebuilding the layout. If it is exposed, torn, or easy to pull free, remove the track from play until the reinforcement has been changed.
The band should solve a friction problem, not disguise structural damage. If the peg is cracked, the socket is splitting, or the wood is crumbling, move to a proper repair or replacement instead.
Mechanical Solutions for Complex Multi-Level Layouts
Once a layout includes an elevated bridge, a mountain pass, or a two-tier crossover, gravity enters the equation. A joint that holds on flat track can hinge open when a train’s weight passes over an unsupported span. Tape or bands placed underneath an elevated section may not have a stable surface against which to work.
For these layouts, a mechanical track clip can be faster and more reliable than an adhesive fix. Commercial clips are designed to sit over adjoining track pieces and help keep the connectors engaged. They are useful at bridge approaches, steep transitions, and sections that shake whenever a child rebuilds or reaches across the layout.
The important point is placement. Do not clip every joint simply because clips are available. Start with the connection that actually fails, then run a train over the section and watch where the movement begins. A clip at the wrong point may hold one seam while transferring stress to the next one.
Clips are also useful when the track pieces are compatible but the geometry of the layout is demanding. A sharp curve leading directly into a raised section places more sideways force on its joints than a straight section on the floor. In that situation, the connector may be in acceptable condition but still need external support.
There is a trade-off. A plastic clip adds a non-wood component to a wooden railway, and it can make the layout less convenient to dismantle if used excessively. Used only where the structure needs support, it can keep a demanding section functional without turning the whole railway into a fixed assembly.
A restraint matters here: over-clipping a layout removes some of the freedom that makes modular wooden railways interesting. Children should still be able to rebuild routes, change a station, or replace a curve with a straight section. Stabilise the vulnerable joints and leave the rest of the layout free.
For elevated track, also look at the supports beneath it. If a bridge is leaning, a pillar is too far from the joint, or the base is uneven, no connector treatment will fully solve the problem. A small change in support position can reduce the load on the joint more effectively than adding another clip.
Restoring Damaged Pegs with Wood-Safe Adhesives
When a male connector is cracked, snapped, or so worn that tape and bands will not hold it, adhesive repair becomes reasonable. This is the point at which the repair stops being a simple maintenance measure and becomes a decision about permanence.
| Repair method | Best for | Permanence | Reversibility |
|---|---|---|---|
| Painter’s tape | Loose joints on flat track and mild seasonal gaps | Temporary | Peel away and replace |
| Loom band | Worn pegs, tight curves, and switches | Temporary | Replace the band without altering the wood |
| Mechanical track clip | Elevated spans, bridges, and multi-level layouts | Reusable but more structural | Remove and reuse where appropriate |
| Wood glue or compatible repair adhesive | Cracked or stripped wooden connectors | More permanent | Usually destructive to remove |
For a cracked wooden peg, use a small amount of adhesive intended for the material and follow the product’s curing instructions. Clean dust from the damaged area first, but avoid soaking the track or widening the crack. Excess adhesive can spread into the socket and permanently block the connector, so apply less than seems necessary and wipe away squeeze-out before it cures.
Clamping a small toy component can be awkward. A light clamp, rubber band, or carefully positioned household weight may work, provided it does not crush the track or force the peg out of alignment. The repaired connector needs to cure in its natural position. If it sets at an angle, the track may no longer lie flat even if the crack itself is closed.
Some railway pieces combine wooden track with moulded plastic connectors. Wood glue that works on a wooden peg may not bond reliably to plastic. Check the adhesive label for the materials it supports, and do not assume that a product marketed for wood will adhere to every synthetic part. If the connector is badly damaged or has broken off completely, replacing the individual piece may be safer and more reliable than building up a new peg from adhesive.
“Toy-safe” is not a magic description. Use a product whose label and intended application are appropriate for a child’s toy, allow it to cure fully, and remove any sharp ridge or brittle excess before returning the piece to play. Do not use construction adhesive, a hot-glue gun, or an unidentified sealant simply because it is available in the workshop. A cured repair still sits on an object that children may handle close to their mouths.
A glued peg is a commitment. Reach for it only when the joint can no longer hold itself, and accept that the piece may no longer behave like a freely interchangeable module.
Adhesive should be the last step because it changes the character of the track. A taped or banded joint can be adjusted as the seasons change. A glued connector may be stronger in one position but less useful in the next layout. If the piece is part of a frequently rebuilt railway, a replacement connector or replacement track section may preserve more of the toy’s original function than a permanent repair.
Keeping the Railway Whole: A Lifecycle View
A solid wooden train set can remain useful through many rounds of play when its parts are stored well and repaired according to the type of wear they have developed. The timber, finish, packaging, transport, and manufacturing effort have already gone into the object. Extending its useful life usually requires less material than replacing a complete set because a few joints have become loose.
That is why joint repair matters beyond the immediate frustration of a derailing locomotive. A railway that stays together is easier to rebuild, easier for a child to use independently, and less likely to be abandoned in a cupboard after repeated derailments. It may be passed to another child, combined with a different set, or kept as a collection of individual pieces even after the original layout has changed.
Painter’s tape, a loom band, a mechanical clip, and a small amount of suitable adhesive are not interchangeable solutions. Each addresses a different failure:
1. Stabilise the surface if the track is sliding before the connectors separate.
2. Use tape for sound joints that need light, reversible support on flat track.
3. Try a loom band when a worn peg needs extra friction but remains structurally intact.
4. Add a mechanical clip where elevation, gravity, or repeated movement places extra load on the joint.
5. Use adhesive sparingly when the connector itself is cracked or stripped and the repair can be made safely.
The honest position is simple: do not glue the track to the play table, do not throw out the set the moment the joints loosen, and do not assume that every loose railway has the same problem. Wood moves. Connectors wear. Mixed brands fit differently. Once the failure is identified, the repair is usually smaller, cleaner, and more reversible than the frustration initially suggests.