Wooden Jigsaw Puzzle Assembly: Step-by-Step Strategy for Kids
A wooden jigsaw puzzle is more than a picture broken into pieces. It asks a child to read several kinds of information at once: the image on the surface, the shape of each edge, the position of…
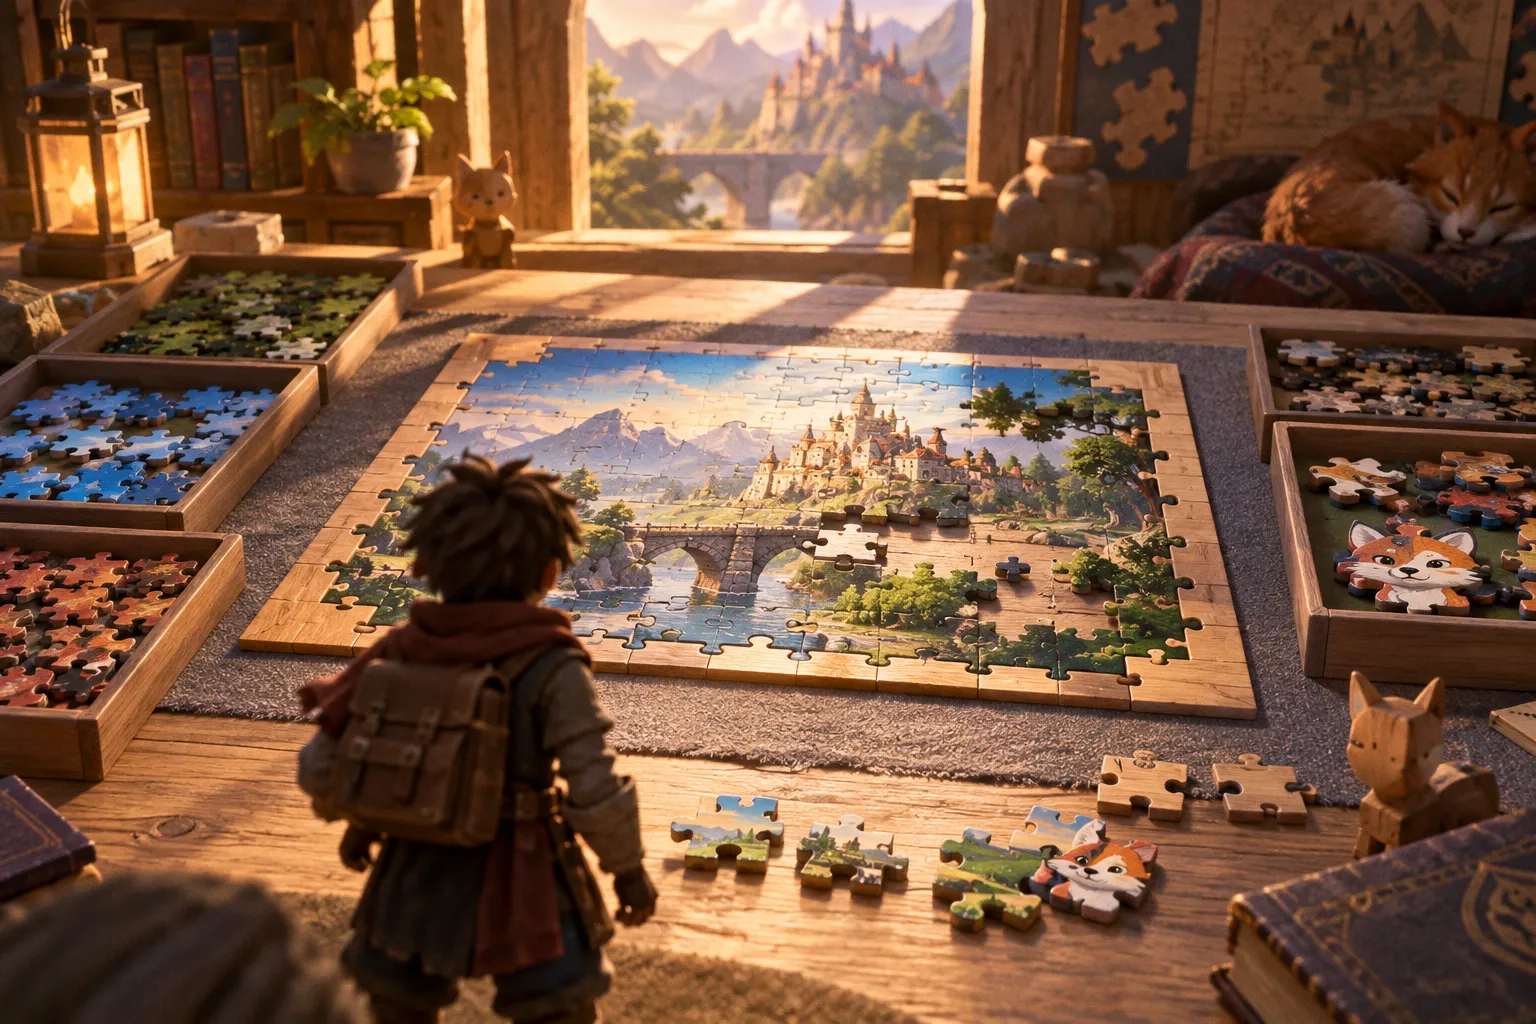
A wooden jigsaw puzzle is more than a picture broken into pieces. It asks a child to read several kinds of information at once: the image on the surface, the shape of each edge, the position of neighboring pieces, and the amount of pressure needed to make a correct fit. That combination can make wooden puzzles especially satisfying, but it can also make them frustrating when every piece is treated as an isolated guess.
The most effective wooden jigsaw puzzle assembly steps for kids are not about rushing toward the finished picture. They are about reducing the number of decisions the child has to make at any one moment. First establish the working area, then build the outside frame, sort the remaining pieces by useful visual clues, and only afterward assemble recognizable internal sections. The sequence gives the child a manageable path through a task that might otherwise feel visually chaotic.
The method is flexible rather than absolute. A very small puzzle may not need every stage, while a detailed puzzle may require returning to sorting several times. The point is to give the child a way to make progress that does not depend on luck.
How Wooden Puzzles Change the Task
Wooden puzzles behave differently from thin cardboard puzzles. The stock is usually thicker and more rigid, so a child can lift, rotate, and handle a piece without it bending in the hand. The cuts may also be more varied: pieces can have irregular outlines, unusual tabs, deep openings, or interlocking profiles rather than following a repetitive grid.
That difference matters for instruction. On a cardboard puzzle, children often rely heavily on printed image fragments. On a wooden puzzle, the outline of a piece can provide an equally useful clue. A piece may belong in a particular location because its edge profile corresponds to a space in the board, even before the child has identified the correct color or picture detail.
A good way to explain this is to separate two questions:
- What does the piece show?
- What shape does the piece make?
A child who looks only at the picture may try to place a blue piece beside every other blue piece. A child who looks only at the outline may find several possible locations but lack the visual information to choose between them. Strong puzzle solving combines both kinds of evidence.
The physical feedback is useful as well. A correctly placed piece usually sits level with its neighbors and feels stable when touched. An incorrect piece may appear to fit if pushed into position, but its edges will often sit unevenly, leave a visible gap, or prevent the surrounding pieces from connecting. The child is learning to treat those signals as information rather than as a reason to use more force.
The satisfying click of a wooden piece is useful only when it confirms a match the child has already checked with the eyes and the hands.
Choosing the Right Starting Point
The ideal puzzle is not necessarily the one with the fewest pieces. A child may find a simple picture with confusingly similar shapes harder than a slightly larger puzzle with clear color blocks and distinctive outlines. Look for a design in which the image offers several kinds of clues:
- a clearly visible border;
- strong differences between areas of the picture;
- recognizable objects or characters;
- pieces large enough for the child to turn and inspect comfortably;
- a stable board or base that does not slide during assembly.
The child’s experience with puzzles matters more than a rigid age label. Some children are ready to work independently with a puzzle that another child approaches with adult support. The useful question is whether the child can make a few successful matches without having every move demonstrated.
If the child is repeatedly forcing pieces, losing track of the available pieces, or abandoning the puzzle before any section is complete, the task may need to be simplified. Fewer pieces, clearer artwork, or a short guided session can make the strategy visible without turning the activity into a test.
Set Up the Workspace Before Sorting
A good workspace removes distractions without making the activity feel clinical. Use a stable, uncluttered surface with enough room for the board, the loose pieces, and one or two developing groups. A plain background is helpful because patterned tablecloths, nearby toys, and scattered craft materials can make piece colors and outlines harder to read.
Lighting should be even enough for the child to see the surface and the cut edges clearly. Strong reflections can obscure printed details, while deep shadows may make a piece look as though it has a different profile. The goal is not special equipment; it is simply a position where the child can inspect a piece without constantly moving it to escape glare.
Keep the reference image nearby, whether it is printed on the board, shown on a box, or included as a separate guide. It should be available for checking orientation and larger visual relationships. It should not become a surface on which every piece is repeatedly compared one by one. That approach can turn a puzzle into a long exercise in trial and error and leaves the child with fewer opportunities to notice relationships between pieces.
A shallow tray or a few clearly separated areas can help contain the loose pieces. There is no need to impose a complicated storage system. The important distinction is between:
- pieces that have not yet been examined;
- pieces being considered for a particular group;
- pieces already placed in the puzzle.
If all three categories occupy the same small space, the child has to search through the same pieces repeatedly. Separating them makes the next decision easier and reduces the sense that pieces are disappearing.
Build the Border First
For a rectangular or square puzzle, the corners are usually the clearest place to begin. A corner piece has two straight outer edges meeting at an angle. That makes it identifiable by shape, even if the picture printed on it is difficult to recognize.
Ask the child to look for pieces with two flat outer edges rather than handing over the answer immediately. A useful prompt is: “Which piece could touch the outside in two directions?” This turns corner finding into a reasoning task. If the child chooses an interior piece, compare the edges together and ask which one could continue beyond the puzzle and which one could not.
After the corners come the border pieces. These generally have one straight outer edge and one or more shaped inner edges. Place them loosely around the outside of the board first. The child does not have to complete the entire frame before doing anything else; even an incomplete border creates a useful map of the puzzle.
The frame does several jobs at once:
1. It establishes the puzzle’s orientation.
2. It gives the child a clear boundary for the image.
3. It provides straight edges against which interior sections can later be aligned.
4. It reduces the number of possible locations for many remaining pieces.
For a young child, it may be enough to complete one side of the frame and then pause. The frame is a support, not a rule that must be followed perfectly in every session. If the picture contains a very obvious central object, building that small section first can be motivating. The border can then be used to place the section more accurately.
A Simple Corner-Piece Practice Activity
Before starting a difficult puzzle, practice the idea of a corner with familiar objects. Put a book, card, or small box on the table and ask the child to find a place where two outside edges meet. Then compare that shape with a puzzle corner.
This takes very little time and gives the child language for the task: straight edge, inside edge, outside edge, corner, and curved or irregular edge. Clear language matters because “try this one” does not explain why a piece is promising. A child who can describe the clue is more likely to use it independently later.
Sort the Interior Pieces by Useful Clues
Once the border is underway, the loose pieces can be grouped. Sorting is not an obligation for every puzzle. With only a few pieces, it may take longer to sort than to assemble. As the number of pieces and the visual detail increase, however, grouping becomes a practical way to reduce the search area.
The best sorting category depends on the image. Start with the clues that are easiest for this particular child to see.
Strong color areas
Large, distinct color regions are often the fastest entry point. Sky, grass, water, clothing, and brightly colored objects can form natural groups. Avoid asking the child to separate every possible shade at the beginning. A broad group such as “pieces that look like the sky” is more useful than a precise division between several similar blues.
Repeated patterns
Stripes, dots, windows, leaves, wheels, and other repeated marks can be easier to follow than subtle color differences. These patterns also help children who are still developing a detailed color vocabulary. The child can search for a repeated visual feature and then compare the shapes of the pieces carrying it.
Recognizable objects
A face, animal, vehicle, flower, or building may provide the strongest anchor in the picture. Ask the child to find pieces that show any part of the object, not only the piece with the most obvious detail. This encourages the child to build a section rather than hunt for a single perfect match.
Edge profiles
Some pieces will not offer a clear image clue. For these, turn the piece slowly and inspect the tabs and openings. Compare its outline with the open spaces along the border or with the edges of an unfinished cluster. Shape is often the deciding clue when several pieces share the same general color.
Sorting can be revised as the puzzle becomes clearer. A group that began as “green pieces” may later divide into leaves, grass, and clothing. That is not a failure of the original sorting. It is a normal change in the child’s understanding of the image.
Sorting works best as a temporary map. It should make the next search smaller, not force every piece into a permanent category before the picture is understood.
Assemble Small Clusters Before Connecting Them
After the border and the first broad groups are in place, help the child build small internal sections. A cluster might be a person’s face, the body of an animal, a group of windows, or a patch of repeated pattern. The section does not need to be large. It only needs to contain enough shared information that the child can compare pieces with one another.
Work on the cluster beside the main puzzle rather than attaching every promising piece immediately. This keeps uncertain matches from distorting the frame and allows the child to turn the group as a unit. When the section is recognizable and stable, compare it with the reference image and look for the place where its outside edges meet the completed frame or another cluster.
A useful sequence is:
1. Find a distinctive area in the reference image.
2. Gather pieces that show part of that area.
3. Compare the pieces by both picture and edge shape.
4. Join the pieces that clearly belong together.
5. Check the orientation of the completed or nearly completed group.
6. Move the group into the main puzzle only when its position is reasonably clear.
7. Use the remaining gaps to find the next group.
This approach is one of the most useful kids’ wooden puzzle solving strategies because it changes the scale of the problem. Instead of asking the child to place one piece among many, it asks the child to position a small visual unit. The task becomes a series of understandable decisions.
Do not insist that every cluster be completed in isolation. Sometimes a piece belongs to two promising groups, or the frame reveals that a section was rotated incorrectly. In that case, move the pieces back to the working area and reconsider them. Reversing a decision is part of solving the puzzle, not evidence that the child has done something wrong.
Use the Reference Image Without Replacing Reasoning
The reference image is most helpful when it answers questions such as:
- Is this cluster upside down?
- Does this color region belong at the top or the bottom?
- Is the object near the left or right side of the picture?
- Which part of the image is still missing?
It is less helpful when the adult points to the exact location of every piece. That may speed up the current puzzle, but it gives the child little practice in comparing, predicting, and correcting.
Try prompts that preserve the child’s role in the search:
- “What do you notice about this piece’s outside edge?”
- “Which part of the picture has this pattern?”
- “Would this piece leave room for the next one?”
- “What changed when you turned it around?”
- “Does it sit level with the pieces beside it?”
These questions direct attention without converting the adult into a puzzle-solving machine.
Wooden Puzzle Corner Piece Strategy and Other Practical Checks
The corner piece strategy is powerful because it relies on a physical fact rather than a guess about the artwork. The same principle can be applied throughout the assembly: prefer clues that rule possibilities out.
For every possible match, encourage the child to check three things:
The picture
Do the colors, lines, and objects continue naturally from one piece to the next? A match does not have to create a dramatic image immediately, but the visual transition should make sense.
The profile
Do the tab and opening shapes correspond? A piece with two outward tabs cannot fit into a space that requires two inward openings, even if the colors appear similar.
The surface level
When placed correctly, the piece should sit in the same plane as its neighbors. If one side rises, a corner catches, or the surrounding pieces cannot move into place, stop and reassess rather than adding pressure.
These checks are particularly important with wooden puzzles because their rigidity can make an incorrect placement seem more secure than it really is. A child should learn that “it went in” is not the same as “it belongs here.”
Common Sticking Points and How to Respond
Forcing a piece into place
Children often interpret resistance as a problem to overcome. Explain that a puzzle piece is not meant to be pressed until it submits. Take it out, rotate it, and compare all of its edges again. If a piece needs force, the match is probably not ready to be trusted.
Attaching a half-formed cluster too soon
A promising group can be tempting to place immediately, especially when the child wants visible progress. If the group is attached before its orientation is clear, it may block other pieces or require the frame to be disturbed. Keep uncertain clusters beside the puzzle until at least one outside relationship confirms their position.
Searching through every piece repeatedly
When the same pieces are examined again and again, pause for a new sort. Separate obvious border pieces, strong color groups, and pieces belonging to a recognizable object. The goal is not perfect organization; it is to make the next search narrower.
Becoming attached to the first guess
A child may defend an incorrect placement because removing it feels like losing progress. Treat corrections as part of the investigation. Say that the piece gave useful information even if it did not stay. This keeps the focus on evidence rather than on being right immediately.
Losing interest before the puzzle is complete
Completion is not the only useful endpoint. A child may have practiced identifying corners, built a cluster, or learned to compare profiles. If attention is fading, stop at a natural point and leave the unfinished puzzle in a safe place if possible. Returning later can be easier when the child sees an organized frame and a few clear groups rather than a scattered pile.
Adjust the Support, Not Just the Puzzle
Teaching children how to solve jigsaw puzzles does not mean giving them one fixed script. The same sequence can be made more or less independent depending on the child’s needs.
For a beginner, sort the corners together and complete part of the border. For a child who already handles the border confidently, focus on explaining why a particular interior piece is promising. For a child who works quickly but makes many incorrect placements, slow down the checking stage and emphasize edge profiles and surface level.
The adult’s role can also change during one session:
- At the beginning, demonstrate how to inspect a piece.
- In the middle, ask questions and wait for the child to choose.
- Near the end, step back and allow the child to test an idea independently.
- When frustration rises, reduce the number of pieces in view rather than taking over the whole puzzle.
This gradual shift matters because the aim is not simply to finish a wooden puzzle. It is to help the child build a repeatable way of approaching an unfamiliar arrangement.
Final Perspective
A wooden jigsaw puzzle rewards a calm sequence: prepare the surface, identify the corners, build the border, sort by visible clues, assemble small clusters, and check every placement by picture, profile, and level. Not every puzzle requires every stage, and children will often move back and forth between them. That flexibility is part of competent solving.
The method works because it reduces unnecessary search. It gives the child a physical starting point, a visual map, and several ways to verify a decision. Over time, children may begin to use the same habits without prompting: turning pieces to study their outlines, grouping similar details, building recognizable sections, and removing a piece that does not truly fit.
That is the lasting value of wooden puzzle play. The finished image is satisfying, but the more important achievement is the child’s growing ability to divide a complicated task into smaller problems, test an idea, and change course when the evidence says to.